Experimental Setup & Procedure

Milk & food coloring experiment – Embarking on this vibrant experiment requires careful preparation and a methodical approach. The success of observing the mesmerizing dance of colors within the milk hinges on a well-organized workspace and a precise execution of each step. A clean and stable surface ensures that the delicate interplay of surface tension and diffusion isn’t disrupted by unwanted interference.
The magic unfolds as the food coloring interacts with the milk’s surface tension, creating a captivating visual spectacle. To capture this phenomenon effectively, we must ensure a controlled environment and a clear understanding of the experimental process. This allows us to fully appreciate the scientific principles at play.
Materials Arrangement
Before commencing the experiment, gather all necessary materials and arrange them strategically. This preparation minimizes disruptions during the procedure and contributes to a more enjoyable and successful experience. Imagine a shallow, wide dish—perhaps a pie plate or a similarly sized container—placed centrally on a stable, flat surface. The dish should be large enough to accommodate a sufficient quantity of milk without overflowing.
We’ll use approximately 1/2 cup of whole milk; whole milk works best due to its higher fat content, which interacts more effectively with the detergent. The milk should be poured gently into the center of the dish, forming a relatively even layer about 1/4 inch deep. Near the dish, strategically place your chosen food colorings, ensuring each bottle is easily accessible.
A cotton swab, lightly dipped in dish soap, completes the ensemble. The swab should be positioned close enough to be easily reached without disturbing the milk’s surface. The arrangement allows for a smooth and efficient execution of the experiment.
Step-by-Step Procedure
Following these steps carefully will allow you to witness the beautiful and fascinating results of this experiment. Each step is crucial to achieving a successful and visually striking outcome.
- Begin by carefully placing a single drop of each food coloring onto the surface of the milk in the dish. Space the drops evenly, allowing a small distance between each color. Observe the initial interaction; the colors may remain relatively static at first due to the milk’s surface tension.
- Next, very gently dip the cotton swab into the dish soap. It’s crucial to only lightly dip the swab; excessive soap will overwhelm the effect.
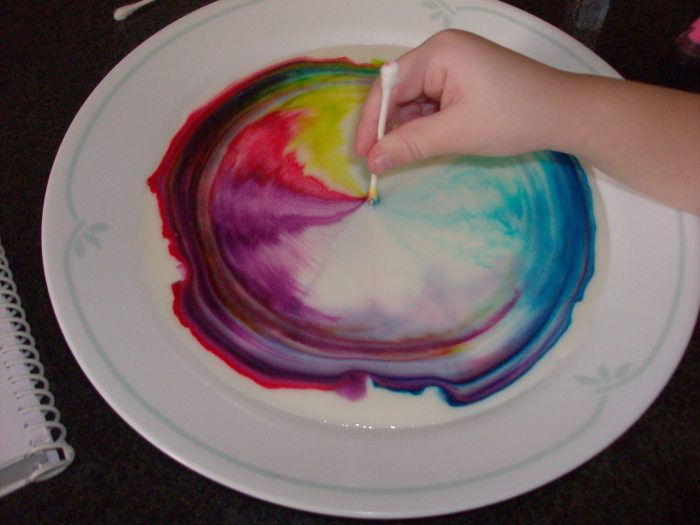
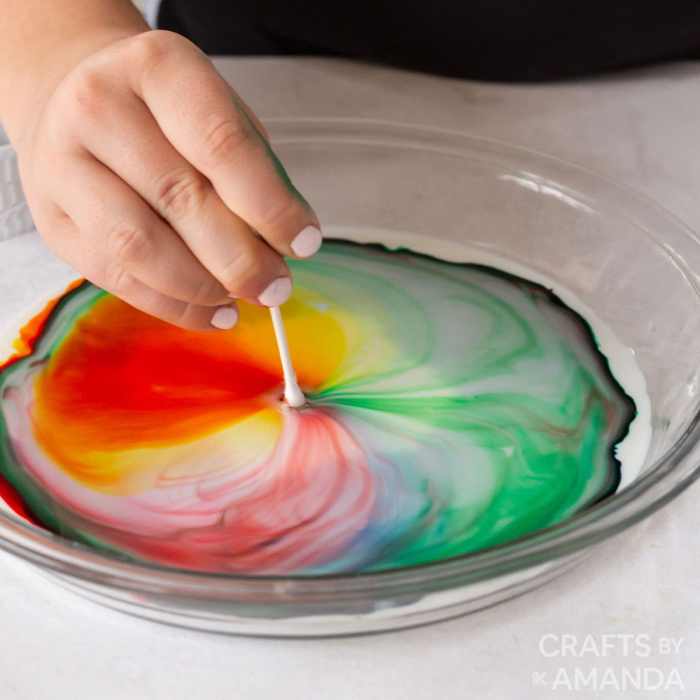
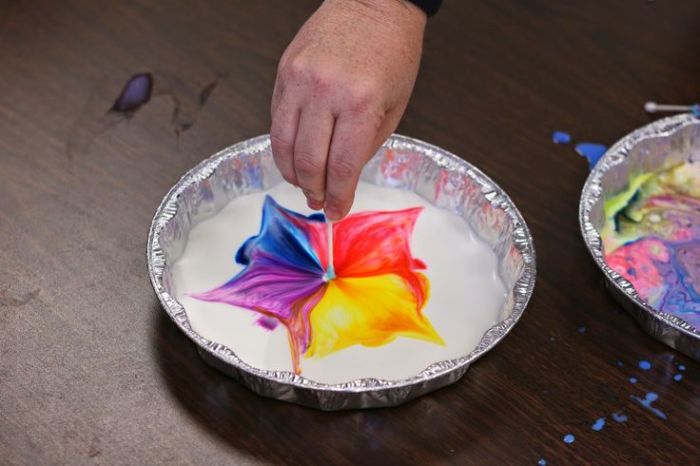
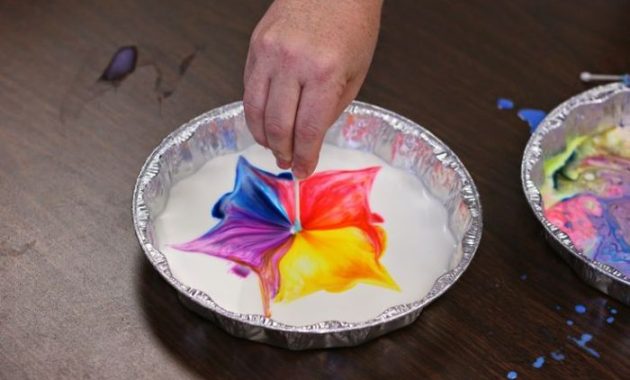
- Carefully touch the tip of the soap-laden cotton swab to the surface of the milk, ideally at the center of the dish or near a cluster of food coloring drops. Observe the immediate changes as the soap interacts with the milk’s fat molecules. The colors will begin to swirl and move dramatically.
- Continue to observe the mesmerizing patterns that form as the colors interact and spread. The movement will eventually slow, but the beautiful marbling effect will remain. Note the differences in how the various colors react and spread.
Maintaining a Clean and Stable Workspace
A clean and stable workspace is paramount for successful experimentation and accurate observation. This ensures the experiment proceeds smoothly without interference, allowing for a clearer interpretation of the results. Any spills or external factors could disrupt the delicate balance of surface tension and diffusion.
Prior to starting, ensure your work surface is clean and free from any debris. A smooth, flat surface is essential for preventing accidental spills and ensuring the dish remains stable. Avoid vibrations or sudden movements during the experiment, as these can disrupt the delicate patterns forming on the milk’s surface. A clutter-free environment allows for focused observation and enhances the overall experimental experience.
Okay, so like, the milk and food coloring experiment is, like, totally trippy, right? The colors all swirl and mix, it’s low-key mesmerizing. It’s kinda similar to how you can totally customize your icing, check out this tutorial on color icing with food coloring to see what I mean! Anyway, back to the milk thing – it’s a super easy science experiment that’s def worth a try, even if you’re, like, totally not into science.
Safety Precautions

Embarking on any scientific experiment, even one as seemingly simple as mixing milk and food coloring, requires a mindful approach to safety. Neglecting precautions, however small they may seem, can lead to unexpected mishaps and unwanted consequences. This section details the crucial safety measures to ensure a smooth and safe experimental journey.
Careful handling of materials and awareness of potential hazards are paramount. This isn’t just about preventing spills; it’s about fostering a responsible and respectful attitude towards the scientific process. Remember, safety isn’t optional; it’s the foundation upon which successful experimentation is built.
Food Coloring Handling and Cleaning
Proper handling of food coloring is essential to avoid staining and potential ingestion. Food coloring, while generally non-toxic, should be treated with care. Spills should be cleaned immediately to prevent staining.
Cleaning procedures should be thorough and efficient. Use warm soapy water to clean any surfaces that have come into contact with the food coloring. For stubborn stains, a gentle bleaching solution may be necessary, but always test this on an inconspicuous area first. Remember to always wash your hands thoroughly after handling food coloring and completing the experiment.
Potential Hazards and Mitigation, Milk & food coloring experiment
Several potential hazards exist during this experiment, though most are easily mitigated with proper care. Spills are the most likely hazard. Food coloring, while generally safe, can stain clothing and surfaces. Eye contact should also be avoided; although unlikely to cause serious harm, it can be irritating.
To mitigate these hazards, always work over a protected surface, such as a tray or newspaper. Wear old clothes or an apron to protect your clothing. If a spill occurs, clean it immediately with a damp cloth or paper towel. If food coloring gets in your eyes, rinse thoroughly with plenty of water and seek medical attention if irritation persists.
Supervision is crucial, especially for younger experimenters.
- Always supervise young children during the experiment.
- Wear appropriate clothing to protect against spills.
- Work over a protected surface to contain spills.
- Clean up spills immediately using warm soapy water.
- Wash hands thoroughly after handling food coloring.
- Avoid direct eye contact with food coloring.
- Dispose of materials properly according to local regulations.
Visual Representation of Results: Milk & Food Coloring Experiment

The moment the drop of food coloring hit the surface of the milk, a breathtaking transformation began. It wasn’t a simple spreading; it was a vibrant dance of color, a silent explosion of hues that captivated the senses. The initial, placid surface of the milk was shattered, replaced by a mesmerizing spectacle of swirling patterns and dynamic color mixing.
This visual feast offered a unique window into the world of surface tension and molecular interactions.The initial impact created distinct plumes of color, radiating outwards from the point of contact like stained-glass windows. These weren’t just blobs of color; they were intricate, almost organic shapes, constantly shifting and morphing as the food coloring interacted with the milk’s surface tension and the underlying currents created by the soap.
We observed a beautiful interplay of primary and secondary colors; blues and yellows merging into greens, reds and yellows blending into oranges, creating a kaleidoscope of unexpected shades. The diffusion wasn’t uniform; some colors spread more rapidly than others, depending on their density and the interactions with the milk’s fat molecules. The process wasn’t chaotic; rather, it displayed a surprising elegance and order in its apparent randomness.
Color Pattern Evolution and Diffusion
The evolution of the color patterns was a gradual but dramatic process. Initially, distinct, vibrant tendrils of color extended from the central point of impact. Over time, these tendrils intertwined, creating a more complex and interconnected network. The colors gradually diffused, mixing and blending to produce new shades. The initial sharp boundaries between colors softened, creating subtle gradients and mesmerizing swirls.
The speed of diffusion varied; some colors seemed to chase each other, while others mingled more gently, resulting in a constantly evolving masterpiece. The overall effect was one of vibrant fluidity and surprising complexity. The patterns continued to evolve until a state of relative equilibrium was reached, where the colors were more evenly distributed across the surface, though still showing traces of the original swirling patterns.
Effect of Varying Soap Amount and Milk Type
Using different amounts of soap yielded strikingly different results. A small amount of soap created a subtle, delicate reaction, with slow, graceful movements of color. Increasing the amount of soap dramatically increased the speed and intensity of the reaction. The colors swirled more rapidly and vigorously, creating a more chaotic but equally captivating display. A larger quantity of soap led to a more complete mixing of colors, resulting in a more uniform, albeit less intricate, final state.The type of milk also played a significant role.
Whole milk, with its higher fat content, produced the most dramatic and vibrant results, due to the greater interaction between the soap and fat molecules. Skim milk, with its lower fat content, showed a much less pronounced reaction, with slower color diffusion and less intricate patterns. The differences were clearly visible, highlighting the crucial role of fat content in the experiment’s visual outcome.
Visual Comparison: Initial and Final States
Initially, the milk’s surface was a calm, uniform expanse of white. A single drop of vibrant food coloring sat atop, undisturbed. This stark simplicity contrasted sharply with the final state. The final state presented a breathtaking spectacle of swirling colors, a complex interplay of hues and patterns. The once-uniform white surface was now a dynamic canvas of blended colors, exhibiting a multitude of shades and textures.
The sharp contrast between the initial simplicity and the final complexity underscored the transformative power of the experiment, revealing the hidden dynamics at play within a seemingly simple system.
Helpful Answers
What happens if I use skim milk instead of whole milk?
Skim milk will likely produce less dramatic results due to its lower fat content. The fat molecules in whole milk are crucial for the interaction with the soap.
Can I use different types of soap?
Yes, different soaps may produce varying results. Dish soap generally works best, but you can experiment with other types to observe the differences.
How long does the reaction last?
The reaction typically lasts for a few minutes, but the visual effects may linger for a short time afterward.
Is this experiment safe for young children?
Yes, but adult supervision is recommended, especially regarding the handling of food coloring and cleaning up afterward.
What if I don’t have a shallow dish?
A shallow, wide container is ideal for optimal results. A plate or a pie dish will work well.

